Networking and engagement are key to your success online, where standing out is crucial.
evyAI has emerged as a game-changing tool that will elevate your engagement by crafting compelling and personalized comments.
In this comprehensive guide, we’ll explore the step-by-step process of using evyAI to create engaging comments that resonate with your audience and set you apart on the professional platform.
Let’s jump right in!
Getting Started
Before diving in, make sure you’ve installed the evyAI Chrome extension. If not, just click the “Get Started” button at the top of this page. It’s free to install and quick to launch.
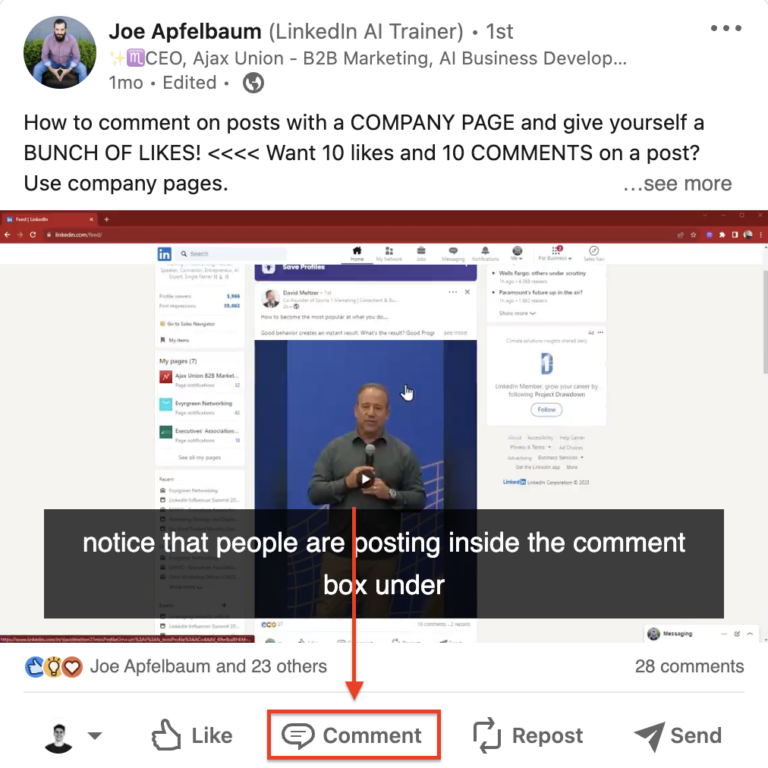
Once installed, simply open your preferred social platform and scroll through your feed. When you find a post that sparks a reaction, click to comment and look for the evyAI icon in the comment bar.
Click it—and watch the AI work its magic.

Personalize Your Approach
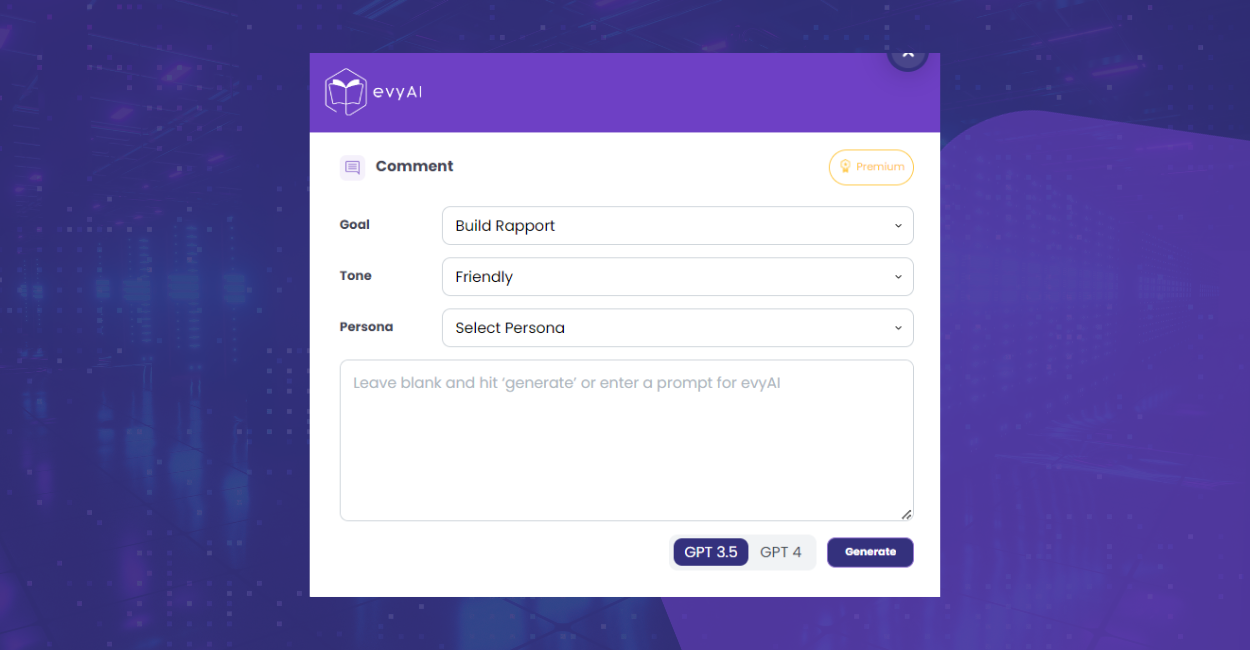
This is where evyAI truly shines. The tool allows you to tailor your comment based on:
Your goal (relationship-building, encouraging engagement, asking a question, etc.)
Your tone (friendly, professional, assertive, funny, and more)
Your Persona—which ensures the comment sounds like you
Want to make it even more specific? Add a short instruction like:
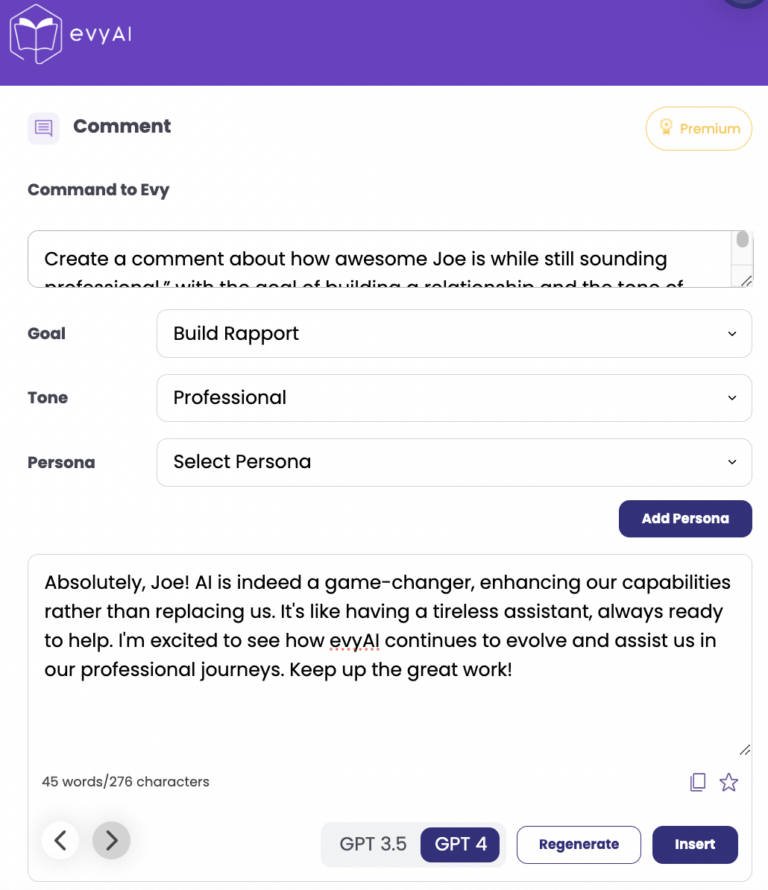
“Create a comment about how awesome Joe is while still sounding professional.”
evyAI will generate something like:
“Absolutely, Joe! AI is indeed a game-changer, enhancing our capabilities rather than replacing us. It’s like having a tireless assistant, always ready to help. I’m excited to see how evyAI continues to evolve and assist us in our professional journeys. Keep up the great work!”

Insert, Edit, and Tag
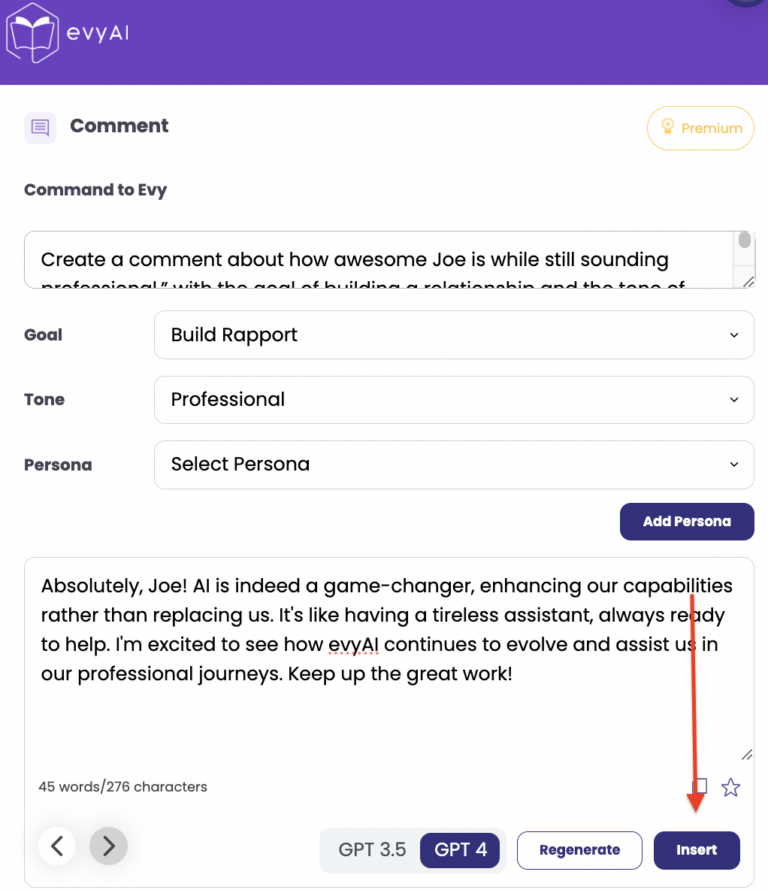
Once your evyAI-generated comment feels right, you can insert it with a click.
You always have full control:
- Edit the comment before publishing
- Tag relevant people by adding “@” in the platform’s comment box
- Adjust the tone or wording to reflect your unique voice
✅ Important: evyAI never auto-posts. You decide what goes live.
Before clicking “post,” take a quick look:
Does this reflect your voice? Is it on-topic? Would you reply to this?
If yes—hit post, and congrats! You’ve just created an engaging, professional comment with the help of evyAI.

Know someone who could benefit from more visibility, stronger relationships, and a sharper online presence?
Share this article with a friend and help them experience the power of AI-assisted engagement.
For more tips, strategies, and tools, visit the evyAI blog—your go-to resource for smarter, faster networking.
Try out evyAI for FREE by installing the Chrome extension here.
If you like evyAI consider upgrading to premium at evyai.com/upgrade

